Tired of using planners that look pretty but don’t actually help you stay organized? The truth is, most store-bought planners aren’t designed for your goals, routines, and priorities.
That’s why creating a custom planner—one that reflects how you live and work—can be a total game-changer. It gives you structure, flexibility, and ownership over your time.
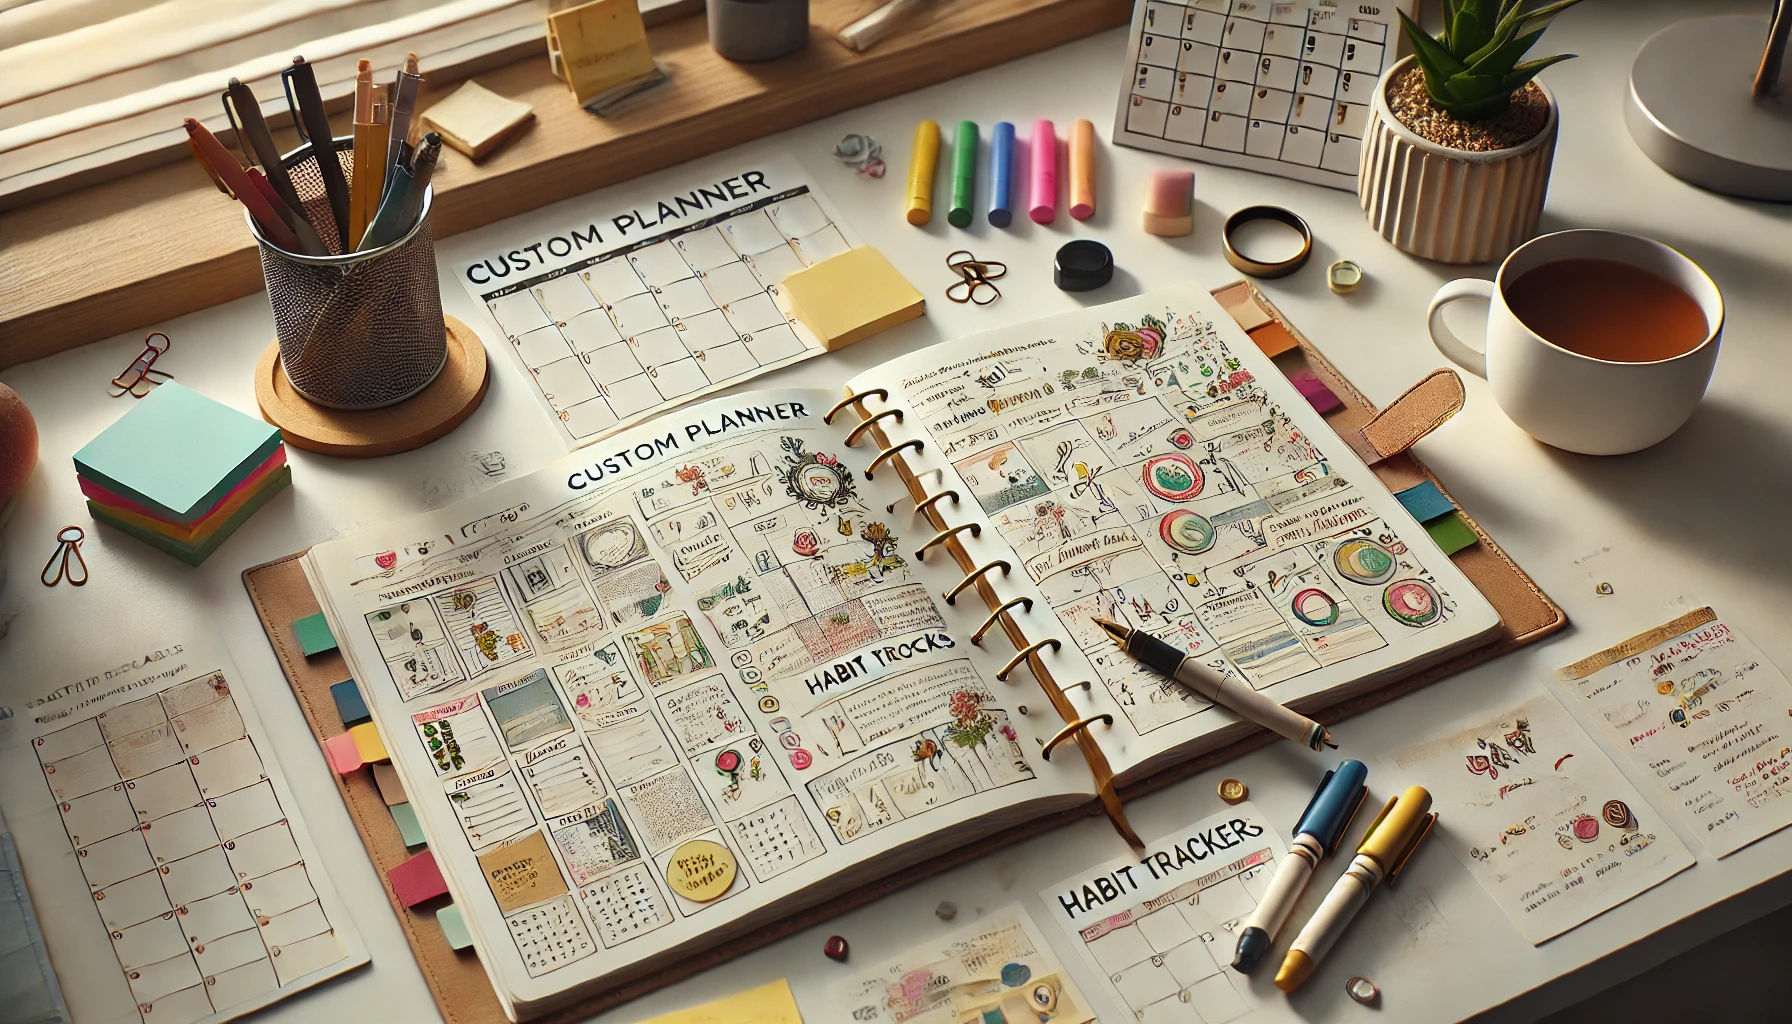
In this guide, you’ll learn how to design a personalized planner that supports your schedule, mindset, and unique lifestyle.
Why Go Custom?
A custom planner lets you:
- Focus on what truly matters to you
- Stay flexible while still being organized
- Combine tools (calendar, habit tracker, goals) in one place
- Build a routine that’s easy to stick with
No more blank pages you don’t use or layouts that don’t match your flow.
Step 1: Choose Your Format
First, decide how you want to build your planner:
📓 Paper (DIY or Printable)
- Great for tactile learners
- Encourages unplugged planning
- Easy to decorate and personalize
Tools: blank notebooks, dot grid journals, printable planner pages
💻 Digital (Apps or PDF)
- Perfect for tech-savvy users
- Easily editable and synced across devices
- Ideal if you’re on the go
Tools: Notion, GoodNotes, Google Sheets, digital planners on tablets
Step 2: Identify What You Need to Track
Think about what areas of life you want to stay on top of. Common elements include:
- ✅ Daily to-do lists
- 📅 Weekly or monthly calendars
- 🎯 Goal tracking
- 🔁 Habit trackers
- 🧘 Mindset or gratitude sections
- 🕓 Time blocking
- 💡 Notes or ideas space
Write a list of sections you want in your planner—these will become your building blocks.
Step 3: Pick a Layout That Matches Your Flow
Ask yourself:
- Do I think best day by day or week by week?
- Do I want a full overview or lots of detail?
- How much space do I need for writing?
Then choose your core layout:
🗓️ Weekly Spread
Best for people who like planning the week ahead in one view.
🗂️ Daily Pages
Great if you have many appointments, tasks, or detailed routines.
📆 Monthly Overview
Useful for big-picture thinking, events, and goal setting.
Step 4: Add Tools That Keep You Motivated
Make your planner more than just a schedule. Include mindset-boosting sections like:
- 💭 Daily affirmations
- 🙏 Gratitude prompts
- 📊 Mood or energy tracker
- 💬 Quote of the week
- 📈 Progress bars for your goals
These sections make planning feel personal and energizing—not just like another task.
Step 5: Make It Visually Appealing
A planner that looks and feels good is more likely to be used daily.
Tips:
- Use color coding for different areas (work, personal, self-care)
- Add stickers, highlighters, or washi tape for visual interest
- Use clean fonts and layouts if going digital
- Keep it simple—too much design can overwhelm
Step 6: Test and Adjust
No need to create a perfect planner from day one. Start with a rough version and test it for a week or two.
Ask:
- What’s working?
- What’s missing?
- What do I avoid using?
Adjust as needed. Your planner should evolve with you.
Bonus: Combine With Weekly Reviews
To make your custom planner even more powerful, pair it with a Sunday review session:
- Look back on what went well
- Set goals for the week ahead
- Plan your schedule using your layout
- Reflect on what matters
This habit builds momentum and keeps you aligned with your goals.
Final Thoughts: Your Planner, Your Rules
There’s no “right” way to plan—only what works for you. A custom planner puts the power back in your hands. It adapts to your rhythms, supports your focus, and becomes a tool for both productivity and peace.
Start building your planner today. One page at a time, you’ll create something that doesn’t just organize your life—it reflects it.

Daniel Carter believes that small daily changes lead to extraordinary results. Through simple and effective strategies, he inspires readers to take control of their routines, overcome procrastination, and unlock their full potential.


